

Display 0 to 9 on LCD
Display 0 to 9 on LCD
Aim:
The main aim of the project is to display the numbers from 0 to 9 on LCD.
Components Required:
| Sr. No | Component | Quantity |
|---|---|---|
| 1 | TeBoT and cable | 1 |
| 2 | TeBoT Connector | 1 |
| 3 | LCD_I2C | 1 |
| 4 | Jumper Wires (F-F) | 2 |
| 5 | Jumper Wires (M-F) | 2 |
Connection and Code Upload:
Step 1: Connect the TeBoT with your device and turn on it.
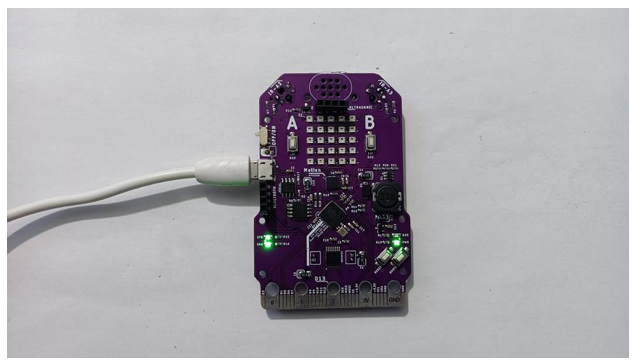
Step 2: Select the board and port, then upload the code.
Warning: If you face any issue while uploading the code, then first “OFF” the TeBoT. Next, turn “ON” the TeBoT. Press the “BOOT” button for a short time then press the “RESET” button once. Then release the “BOOT” button. You will get a drive. Then upload the code.
Step 3: Now take the connector and connect on TeBoT.
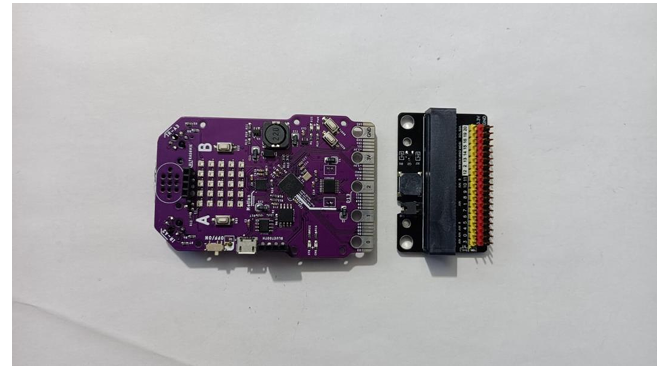
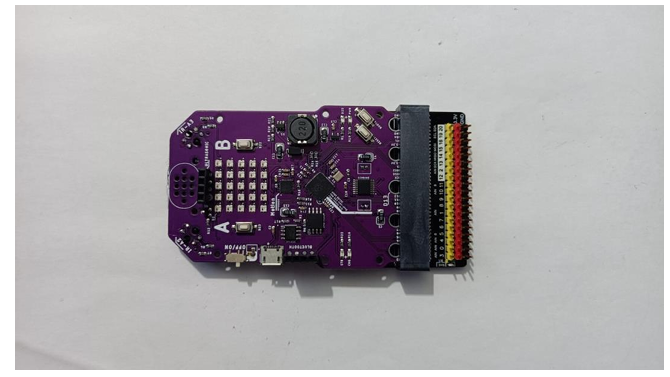
Step 4: Now connect the LCD with TeBoT.
LCD_I2C ↔ TeBoT
GND ↔ GND (1st pin from left to right in Ultrasonic port)
VCC ↔ VCC (1st pin from right to left in Ultrasonic Port)
SDA ↔ Pin no 4 (Connector)
SCL ↔ Pin no 5 (Connector)
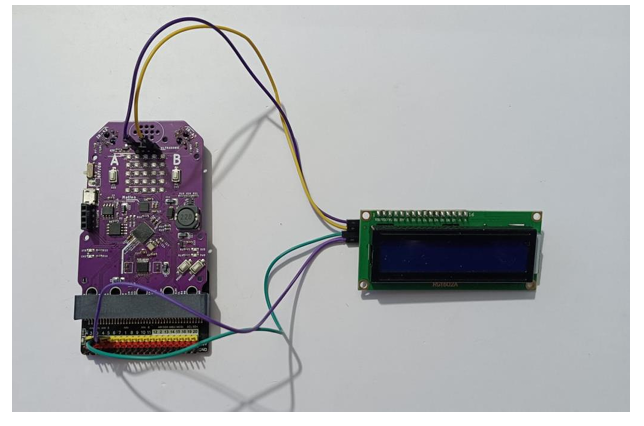
Step 5: Now when you turn on the TeBoT, you will see the 0 to 9 will display on LCD.
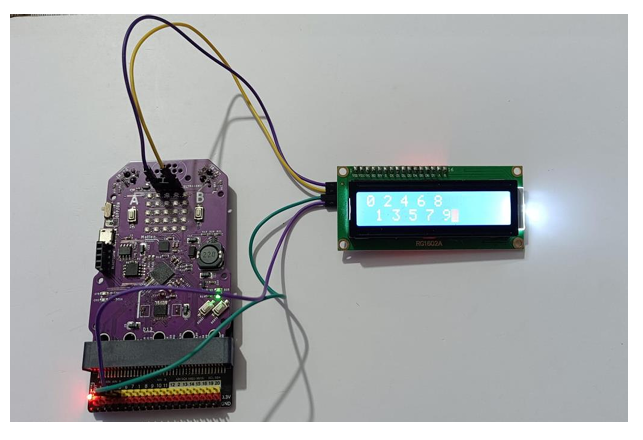
Conclusion: From this project we got the idea about all components, connection of those components and displayed 0 to 9 on LCD.