Lesson 1 of 0
In Progress

Session 1: Introduction to PictoBlox

What is a Program?

A program is a set of instructions that a computer follows to complete a task. The computer receives the information, handles it, utilizes it, and then gives an output based on it by following a program.

We are surrounded by computers and computer programs; smartphones, cars, and washing machines are all computers, and they follow different programs to carry out different tasks. E.g. when you search for a contact on your phone, a program already fed into the phone finds the correct number for you. Washing machines also have different programs that decide which task the machine will do. E.g. programs control how hot the water will be, or for how long the machine will wash the clothes.
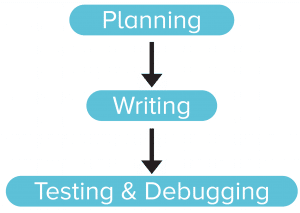
According to Linda Liukas, a Finnish computer programmer, children’s writer, and programming instructor, programming consists of three parts:
  • Planning the program
  • Writing the program in a programming language into a code
  • Testing and debugging the program
The second part is what everybody generally considers programming. Only this part requires coding skills; the first and third parts require additional skills like problem-solving, and decomposition (the ability to break down bigger problems into smaller, manageable tasks).

Programming Analogy

Getting Dressed

On days that you have to go to school, your mother and father are behind you in the morning, asking you to wake up, while you keep saying ‘5 more minutes!’ until you realize it is late and you don’t have time to take bath. So, you decide to just wash your face, brush your teeth, and get dressed. To get dressed, you follow a particular sequence of steps, like the one given below:
  • Take off the pajamas
  • Take off the undergarments from the previous day
  • Wear a fresh pair of undergarments
  • Put on the school uniform
  • Wear accessories such as the belt, tie, and ID card
  • Wear socks
  • Wear shoes

Here, as you can see, you followed a set of instructions to complete a task, which is getting dressed (though hastily, and without taking a bath!).

Now, you know that to properly get dressed, you need to follow the order; you won’t wear a fresh pair of undergarments before taking off the previous ones, nor would you put on the uniform first and then wear undergarments (unless you’re Clark Kent!).

Similarly, you must write the program in a particular order so that the computer does the task given to it correctly, and we get the result that we expect.

PictoBlox – Your Perfect Programming Partner

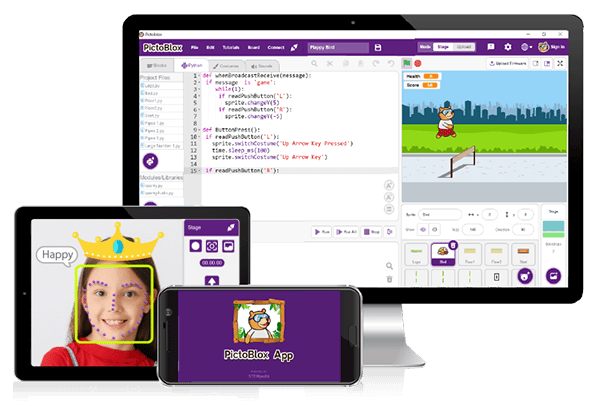
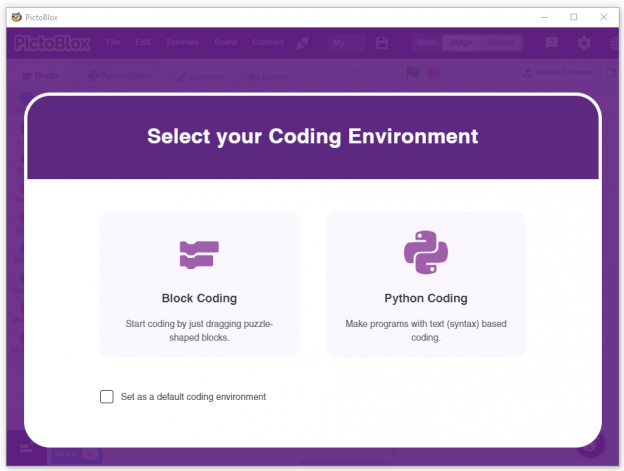
PictoBlox is a graphical programming software based on Scratch blocks and is the ideal companion for setting the first step into the world of programming.

PictoBlox Interface

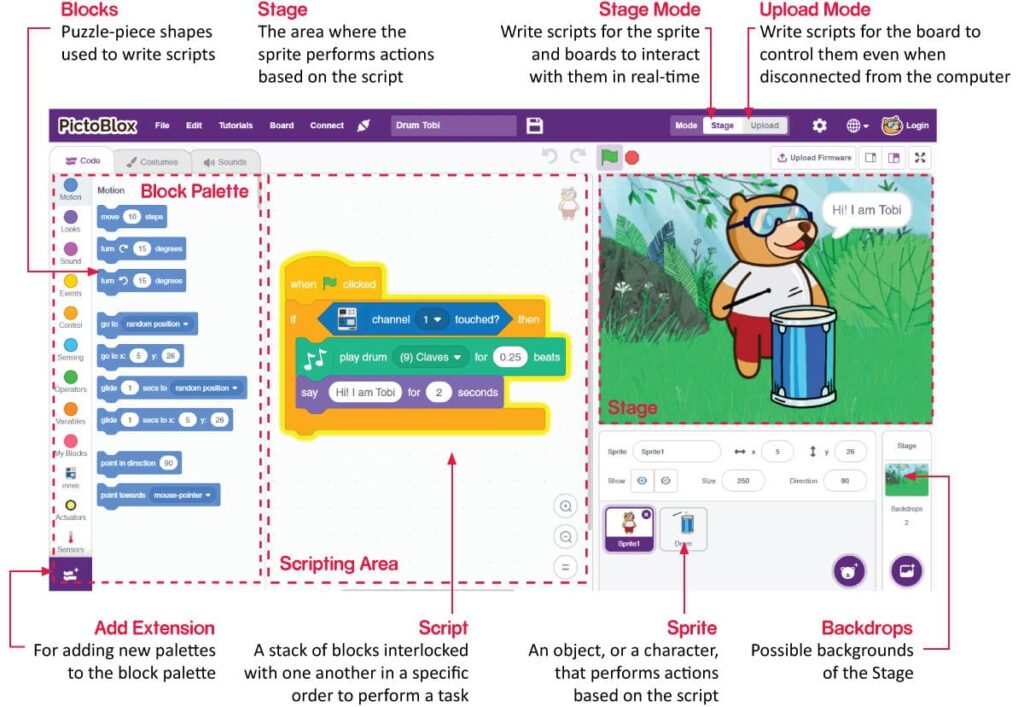
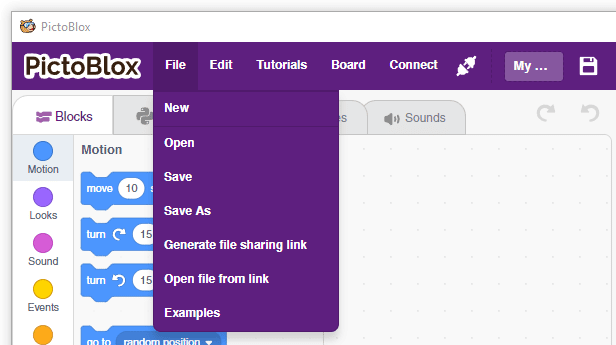
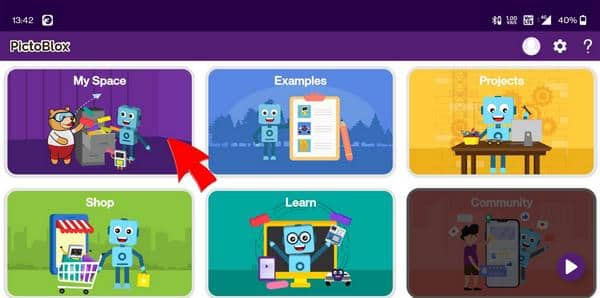
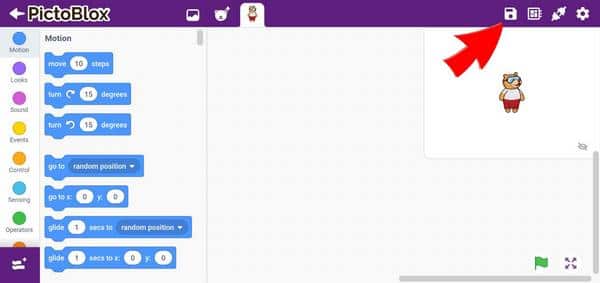
Now that you have PictoBlox installed on your desktop, let’s take you on a tour around it!

Stage

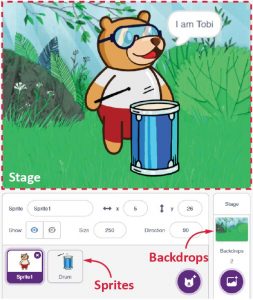
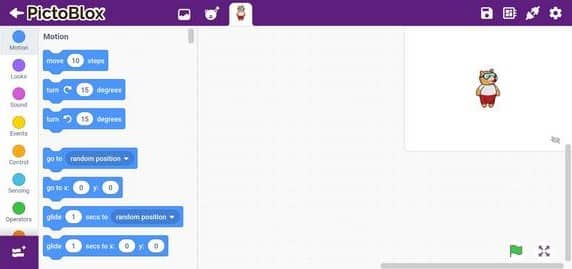
The stage is a background or a backdrop for your Scratch projects (the programs you’ll create). It is a white background in the top left corner; you will see a bear standing there. His name is Tobi and he is what is called a sprite (we’ll see in a moment what it is). The Stage is where the sprite moves, draws, and interacts with other sprites and/or hardware. It has its own set of scripts, images, and sounds.

Sprite

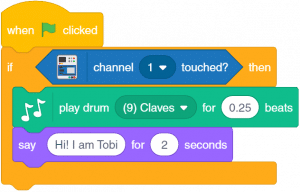
A script is a program or a code in PictoBlox/Scratch lingo. It is a set of ‘blocks’ that are arranged below one another in a specific order to perform a task or a series of tasks.
The scripting area is where you will create your scripts.

Activity: Make Tobi Walk

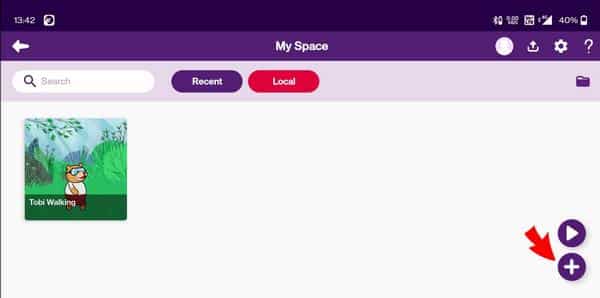
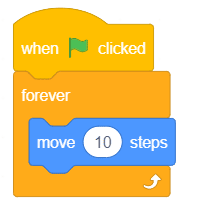
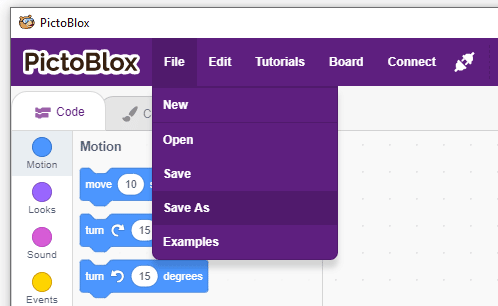
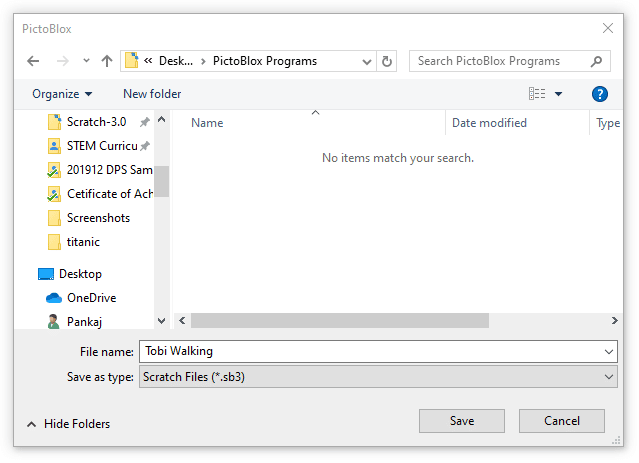
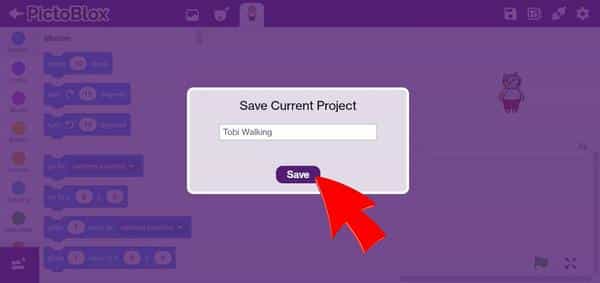
Ready for some action? Let’s make a small script to make Tobi walk.

Let’s Code

Follow the steps below:
  • Create a New file in PictoBlox:
    • Follow the step if you are working on Windows, macOS, or Linux:
      • Open PictoBlox and create a new file.
      • Select the coding environment as Block Coding.
    • Follow the step if you are working on Android or iPhone:
      • Open PictoBlox App and select My Space Tab from the home screen.
      • Click on + sign to create a new file.
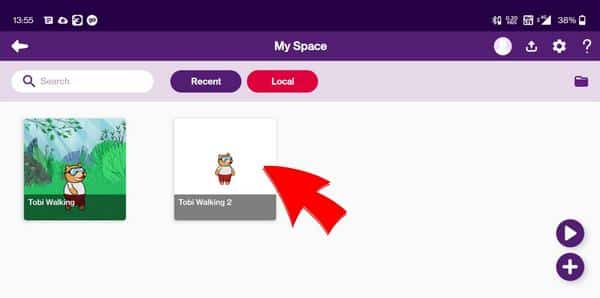
The new file should be created like this.
  • Open the Events palette and drag and drop the when flag clicked block into the scripting area. Then when the flag-clicked block is a special type of block called a hat block. It is used to start a script. Using this particular hat block you can run the script by clicking on the green flag above the stage.
  • Next, open the Control palette and drag and drop the forever block below the when flag clicked block.
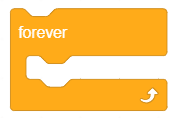
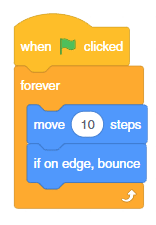
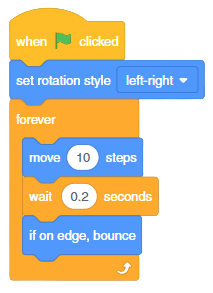
This block is used when you want a set of blocks to keep running until the script is stopped manually.
  • Then, open the Motion palette and drag and drop the move () steps inside the forever block.
This block is used to move the sprite by a specified number of steps. In our case, it is 10.
Run the script by clicking the green flag.
What just happened? Where did Tobi go?! As it seems, he went out of the frame. Let’s fix this so that the Tobi doesn’t wander off again.
  • Open the Motion palette and drag and drop the when on edge, bounce block inside the forever block.
This block detects whether the sprite has touched the edge of the stage or not and changes the direction if it has.
Run the script by clicking the green flag.
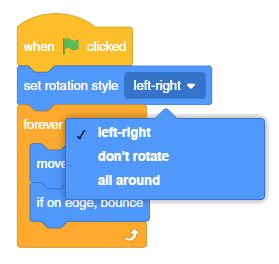
What is happening to Tobi Now? Is he upside-down? To stop this, you must change the rotation style.
  • Go to the Motion palette and drag and drop the set rotation style () below the when flag clicked block and select left-right from the drop-down.
Run the script by clicking the green flag.
Isn’t Tobi moving very fast? Let’s slow him down.
  • Open the Control palette and drag and drop the wait () seconds block below the move () steps to block and change the delay value to 0.1 seconds. The wait block is used to pause/delay the script execution by the specified time.
  • The script is now complete!
Run it by clicking the green flag.
Yay! You’ve just completed your first script! Pat yourself on the back.

Saving the Program

  • Follow the steps to save the file in Windows, macOS, and Linux:
    • To save the program, click on File > Save As.
    • A window will pop up. Choose the location as Desktop or any other relevant folder. Name the file Tobi Walking.
    • Click on Save. The file is saved with a .sb3 extension on your computer.
  • Follow the steps to save the file on Android and iPhone:
    • Click on the Save button.
    • A popup would open. Write the name of the project and click on Save.
    • You can find your saved file in My Space.

Assignment

Before moving on to the next lesson, a small assignment awaits you!

You must upload the PictoBlox program you created in this activity to the website. Submitting the assignment is a must to receive the certificate after completing the course.

Follow the steps below to upload your assignment:

  • Click on Browse.
  • Search and Select your saved Project file(.sb3) and Click Open.
  • Click on Upload to submit the assignment.
Good luck!